Norton Commander for DOS is the original line of Orthodox file managers that exists in five major versions: 1.0, 2.0, 3.0, 4.0 and 5.0. Only the last one has an additional sub-version (nc 5.5). All versions are still used (mostly by DOS enthusiasts) and are often posted on the abandonware sites. […] It was probably one of the most popular file manager of the DOS era, which along with Xtree remains one of the few programs which managed to transcend their DOS roots and Norton Commander descendants (OFM managers) now exist on all popular OSes. The first version of NC (1.0) was designed and written by John Socha in 1984-1989. We provide a short biographical notes about him later in this chapter.
http://www.softpanorama.org/OFM/Paradigm/Ch03/norton_commander.shtml#Timeline
Hi-Eddi – Mein erstes Malprogramm ;-)

Hi-Eddi ist ein sehr bekanntes Zeichen- und Mal-Programm für den hochauflösenden Grafikmodus, das in den Computerzeitschriften 64’er und Happy Computer Mitte der 1980er-Jahre zum Abtippen als Listing des Monats erschien. Im Gegensatz zu den meisten damals käuflichen Programmen, die im Multicolor-Modus arbeiten (mehrere Farben, aber nur halbe Auflösung), ist Hi-Eddi konsequent als Zeichenprogramm mit maximaler Auflösung von 320×200 Punkten konzipiert. Die Farbfähigkeiten sind nur ein „Nebenprodukt“ und deshalb nicht so ausgeprägt.
https://www.c64-wiki.de/wiki/Hi-Eddi
SOFTICE 3.25 FOR WINNT/2000 NUMEGA
SoftICE is a kernel mode debugger for DOS and Windows up to Windows XP. Crucially, it is designed to run underneath Windows such that the operating system is unaware of its presence. Unlike an application debugger, SoftICE is capable of suspending all operations in Windows when instructed. For driver debugging this is critical due to how hardware is accessed and the kernel of the operating system functions.
Details über Numega SoftIce: https://en.wikipedia.org/wiki/SoftICE
MS DOS Boot Disk for Games
Beim entrümpeln gefunden:
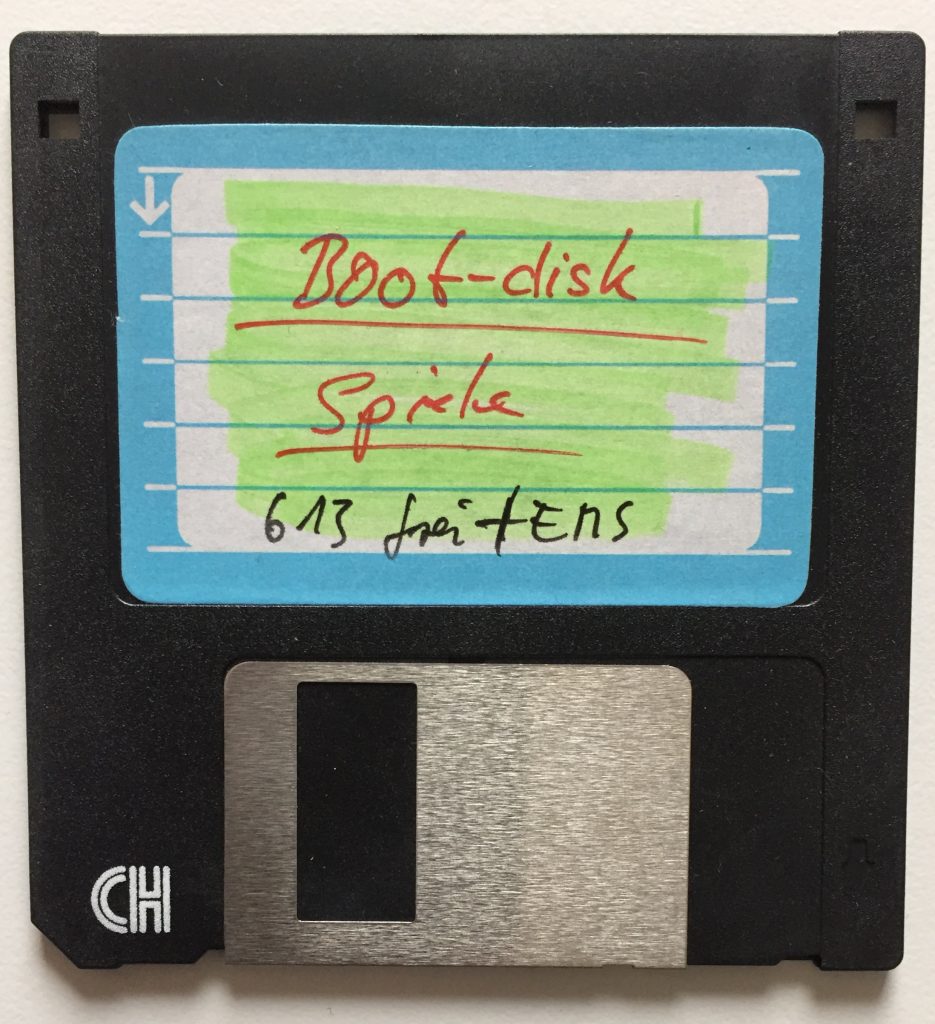
Die hebe ich besser auf, oder?
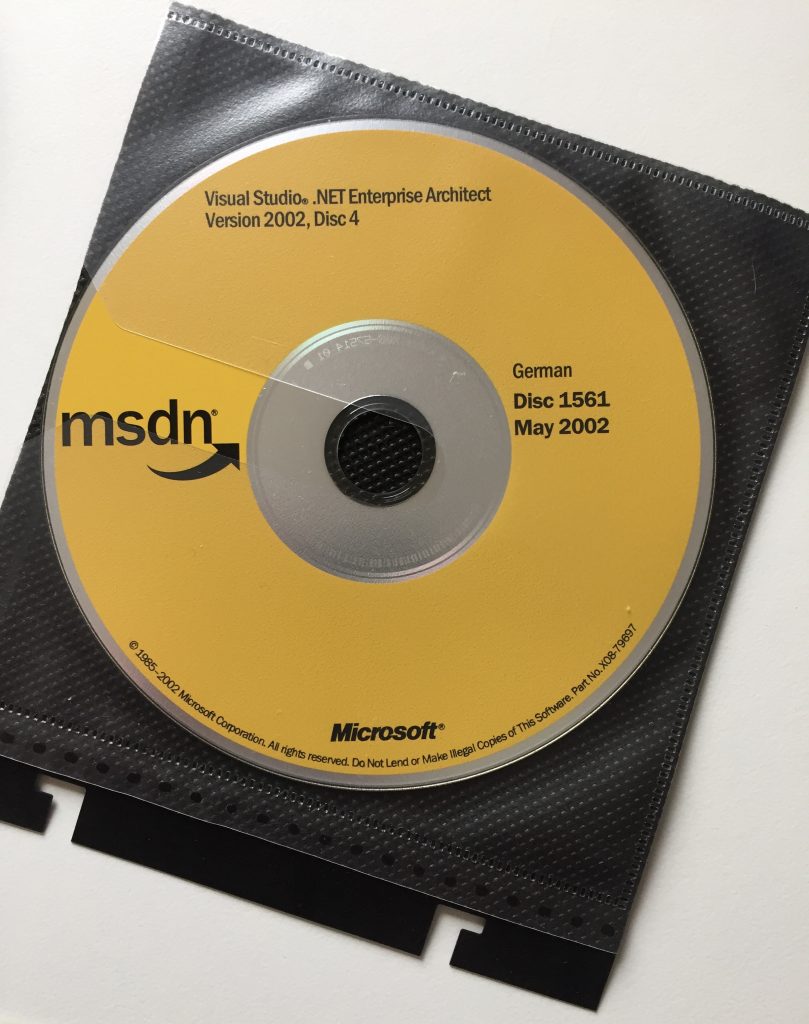
Visual Studio 2002, ist nicht ganz so alt aber leider auch nutzlos, mmh?!
The Art of Code – Dylan Beattie
Dylan Beattie – programmer, musician, and creator of the Rockstar programming language – for an entertaining look at the art of code. We’ll look at the origins of programming as an art form, from Conway’s Game of Life to the 1970s demoscene and the earliest Obfuscated C competitions. We’ll learn about esoteric languages and quines – how DO you create a program that prints its own source code? We’ll discover quine relays, code golf and generative art, and we’ll explore the phenomenon of live coding as performance – from the pioneers of electronic music to modern algoraves and live coding platforms like Sonic Pi
A look back at memory models in 16-bit MS-DOS
Viele interessante details:
We called it RAID because it kills bugs dead. The history of defect tracking in the Windows team goes back to Windows 1.0, which used a text file.
https://devblogs.microsoft.com/oldnewthing/20200317-00/?p=103566
After Windows 1.01 released, a bunch of people in the apps division got together and threw together a bug tracking database. Because hey, a database, wouldn’t that be neat?
Zum stöbern alte Geschichten über Windows\Microsoft\
Semantic Versioning
- MAJOR version when you make incompatible API changes,
- MINOR version when you add functionality in a backwards compatible manner, and
- PATCH version when you make backwards compatible bug fixes
Details from here https://semver.org/
Benefits of using NOEXPAND hints (Indexed Views)
How to determine my Pi model?
cat /sys/firmware/devicetree/base/model
Liefert dann z.b.: Raspberry Pi 3 Model B Rev 1.2
Root-Passwort beim Raspberry Pi ändern
Um das Root-Passwort zu ändern, müssen Sie lediglich die folgenden Schritte durchführen. Sie benötigen allerdings physischen Zugriff auf Ihren Raspberry Pi:
- SD-Karte mit dem Betriebssystem entnehmen.
- Lesen Sie die Karte mit einem Kartenlesegerät an Ihrem Computer und öffnen Sie den Ordner „Boot“.
- Öffnen Sie mit dem Editor die Datei „cmdline.txt“ und fügen Sie am Ende der ersten Zeile den Zusatz „init=/bin/sh“ an.
- Anschließend müssen Sie die SD-Karte wieder in Ihren Raspberry Pi stecken und diesen mit angeschlossenem Bildschirm und Tastatur starten.
- Sie müssen in der Konsole nun „mount -o remount,rw /“ und dann „passwd root“ eingeben. Jetzt können Sie ein neues Passwort für den Root-Benutzer festlegen.
- Führen Sie abschließend die Befehle „sync“ und „exec /sbin/init“ aus.
- Schalten Sie Ihren Raspberry Pi nun aus und entfernen Sie den Zusatz aus Punkt 3. wieder.
- Beim erneuten Hochfahren können Sie sich nun mit Ihrem neuen Passwort anmelden.
Sollte eine Fehlermeldung nach dem Muster „Can’t find PARTUUID=xxxxxx“ auftauchen, hat bei mir das folgenden geholfen:
sudo mount -o remount,rw /dev/mmcblk0p2 /