I’ve posted this Text here
I‘ have done some tests with Caché and Apache Zeppelin. I want to share my experince to use both systems together. I’ll try to describe all steps that are required to config Zeppelin to connect to Caché.
What is Apache Zeppelin?
For all who think: What the heck is Apache Zeppelin?, here some details what the project site (http://zeppelin.apache.org) says:
„A web-based notebook that enables interactive data analytics. You can make beautiful data-driven, interactive and collaborative documents with SQL, Scala and more. Apache Zeppelin interpreter concept allows any language/data-processing-backend to be plugged into Zeppelin. Currently Apache Zeppelin supports many interpreters such as Apache Spark, Python, JDBC, Markdown and Shell“
Install Apache Zeppelin
The next 5 steps describe how to get Apache Zeppelin up and running:
- You need a Java Runtime Environment. I you haven’t download and install from here
- Download Zeppelin from here
- Extract the entire Zeppelin Zip-File into a folder like d:\zeppelin
- Open a shell (cmd on windows) and navigate into the folder \zeppelin\bin
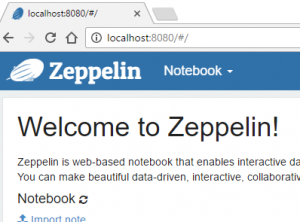
- Execute zeppelin.bat on Windows to start ZeppelinOpen up a browser and use this url http://localhost:8080 to open the main page of zeppelin. You should see something like this:
Well done! Zeppelin is now up and running!
Connect to Caché
Now let us introduce Caché. The next steps describe how to create a jdbc connection to a Caché Namespace.
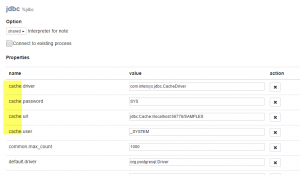
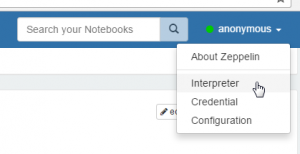
- Navigate to the menu item „anonymouse“ -> „Interpreter“ and scroll down to the „jdbc“ section.
- Now press edit and go to the end of the jdbc section and enter your Caché JDBC connection string
cache.driver    = com.intersys.jdbc.CacheDriver

cache.password   = ???

cache.url        = jdbc:Cache://<server\ip>:<port>/<namespace>

cache.user = _SYSTEM - Add the path to the Caché JDBC driver in the „Dependencies“. This is located at the end of jdbc section.
- Press SAVE
Great! All preparations are done, now let us use Zepplin and Caché.
Query Caché
Follow these steps to create a first Notebook to query and visualize some Caché data.
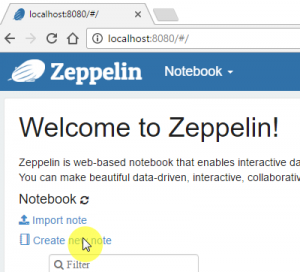
Press create new note and name it like „HELLO WORLD“ …
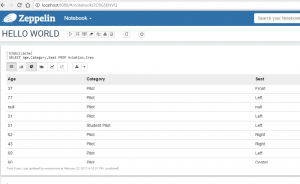
By typing %jdbc(cache) you inform zeppelin what data source you want to query.
In detail: The %jdbc keyword lets zeppelin call the jdbc interpreter and the cache routes the query to the Caché connection. If you want to use more connections to Caché e.g. another namespace you have to create more entries in the jdbc section you’ve done before. The prefix of the entries are the connection name.
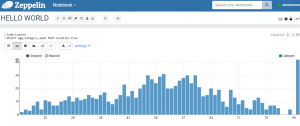
Ok now place a sql statement in the next line. After that press execute and you will immediately see the result:
Happy testing!
